The Photos app on your iPhone and iPad offers a handy way to manage your photos and videos, but it also provides basic yet effective editing features. You can adjust the vibrancy, white balance, sharpness, saturation, warmth, and more. Or fine-tune its intensity with a filter. You’re also able to crop and auto-straighten your photos, while the video editor provides the same features, including advanced lighting control, cropping, and orientation control.
The editing tools and controls in the Photos app are the same in both iOS and iPadOS, so you can use an iPhone or iPad the same way to enhance your photos and videos. Just make sure you’re running the latest OS version by going to Settings > General > Software Update. You’ll be told that the OS is up to date or be prompted to install the latest update.
Adjust the Attributes for a Photo
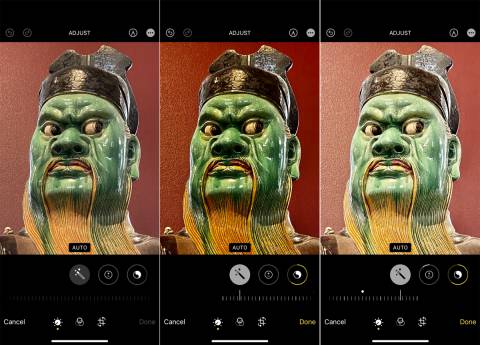
To edit a photo, tap the Edit link in the upper-right corner of the screen. The Adjustment option will be selected by default, which is the first icon on the bottom toolbar. Tap the Auto button in the center to automatically adjust your photo's exposure, brilliance, and other attributes. You can then adjust everything at once by moving the slider bar to the right or left.
Remove changes made by Auto Enhance by tapping the Undo icon at the top of the screen. To bring back the changes, tap the Redo icon at the top.
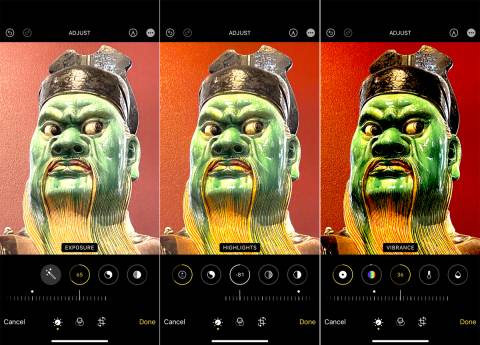
If you prefer to tweak each attribute separately, tap the appropriate icon to edit exposure, brilliance, highlights, shadows, contrast, brightness, black point, saturation, vibrancy, warmth, tint, sharpness, definition, noise reduction, and vignette. When you pick an attribute, move the slider bar left or right to make the necessary adjustments.
Add a Filter to a Photo
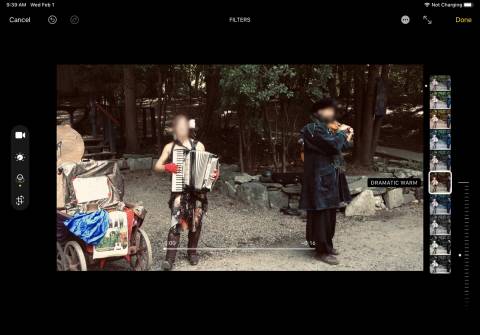
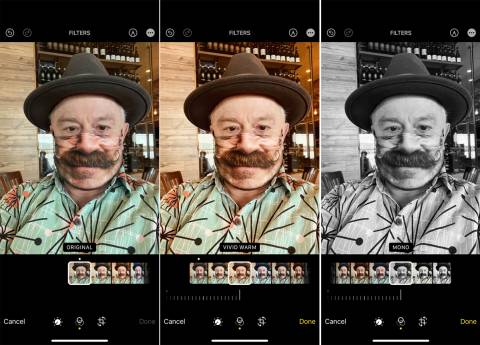
Next to the Adjustment icon on the bottom toolbar is the Filter icon. Tap that icon and check out the different filters, including Original, Vivid, Vivid Warm, Vivid Cool, Dramatic, Dramatic Warm, Dramatic Cool, Mono, Silvertone, and Noir. Adjust the slider bar for each filter in order to increase or decrease its intensity.
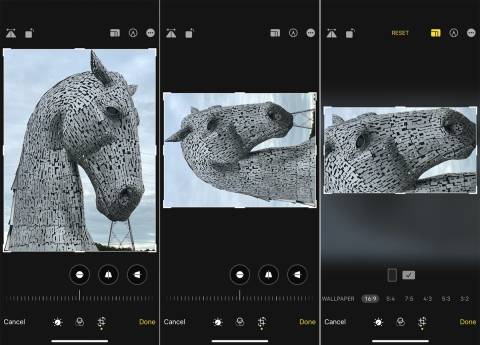
Crop a Photo
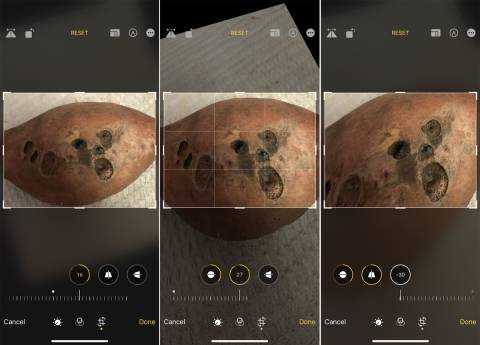
The last option on the bottom toolbar is the Crop icon. Select it to crop the image by dragging the highlighted corners until only what you want to keep is visible. Directly below the image are three icons that allow you to tilt the image, change the vertical perspective, and change the horizontal perspective. After selecting an icon, drag the slider bar to the left or right.

Change the Orientation and Aspect Ratio
You can flip the image horizontally by tapping the triangle icon in the upper-left corner, or tap the square icon to rotate the image. Tap the segmented square icon in the top-right corner to change the aspect ratio of the image.
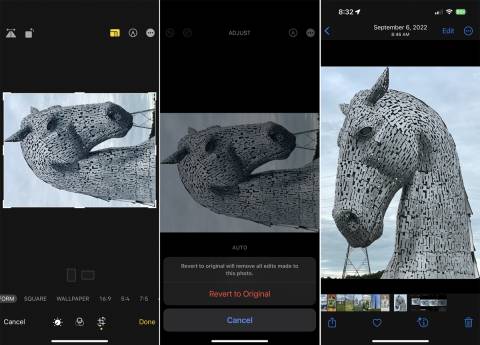
Choose between Original, Freeform, Square, or Wallpaper to set the shape of the image. You can also choose the rectangle or square icon at the bottom of the screen to switch between portrait and landscape.
There are also specific aspect ratios to choose depending on the image's orientation: 9:16 or 16:9, 4:5 or 5:4, 5:7 or 7:5, 3:4 or 4:3, 3:5 or 5:3, and 2:3 or 3:2. At any time, you can hit Reset at the top of the screen to return the image to its original form.
Tap Done to make the changes stick. Even if you save your changes, you can revert the image back to the original. Just tap Edit > Revert.
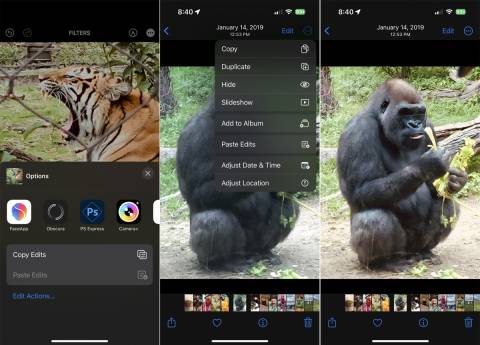
Copy and Paste Your Edits
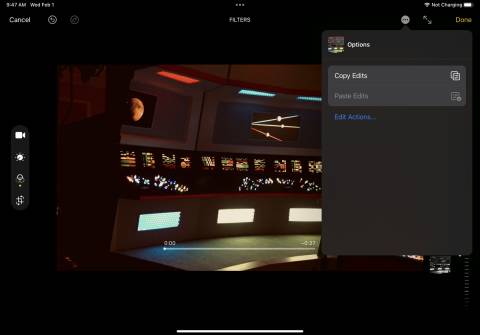
Let’s say you made color and filter changes to a photo, and now want to apply those specific types of edits to another photo. After adjusting the initial photo, tap the three-dot icon at the top and select Copy Edits. You can then head over to a different photo, open the three-dot icon, and tap Paste Edits. This will apply all the same edits without the need to manually replicate all the changes you made before.
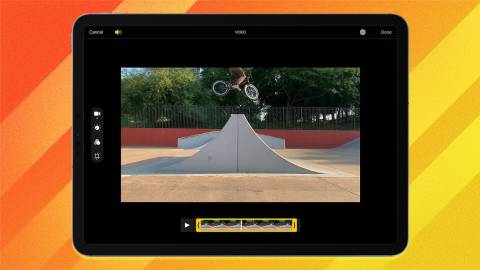
Trim a Video
You can also edit a video if you tap the Edit link in the upper-right corner. The first task you can tackle is to trim your video clip. Drag the first marker on the timeline right or left to change the start of the clip. Drag the second marker right or left to change the end of the clip.
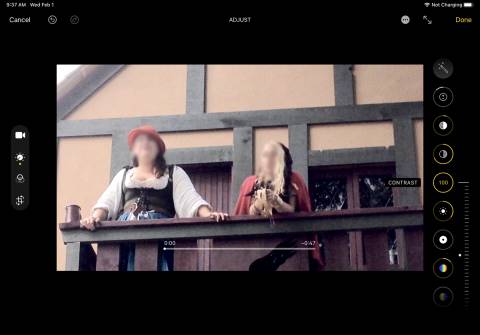
Adjust Video Attributes
Once the trimming is out of the way, the editing process for video works the same as it does with photos. Select the Adjustment icon on the toolbar to adjust the attributes of the clip. Tap the Auto icon to change all the attributes in one shot, or choose each individual icon to tweak the attribute separately. Just like with a photo, you can tap Undo in the top-left corner to take back your last action; tap Redo to repeat your last action.
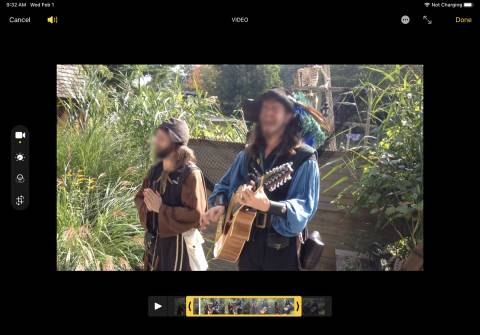
Apply a Filter
Tap the Filter icon to apply different types of color filters to the video. These filters include Original, Vivid, Vivid Warm, Vivid Cool, Dramatic, Dramatic Warm, Dramatic Cool, Mono, Silvertone, and Noir. Adjust the slider bar for each filter to increase or decrease its intensity.
Change a Video's Size and Orientation
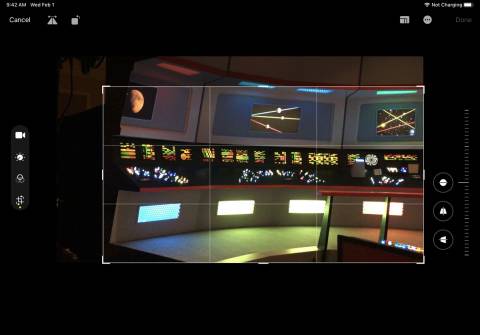
Tap the Crop icon to crop your video. Drag the guidelines to crop the footage until only what you want to keep is visible. You can also flip and rotate the video by using the controls in the upper-left corner.
Just like with a still photo, you can tap the segmented square icon in the top-right corner to change the aspect ratio of the image. You can change the general shape of the video and also change the aspect ratio. Tap Done to save your changes or Cancel to discard them.
Copy and Paste Edits
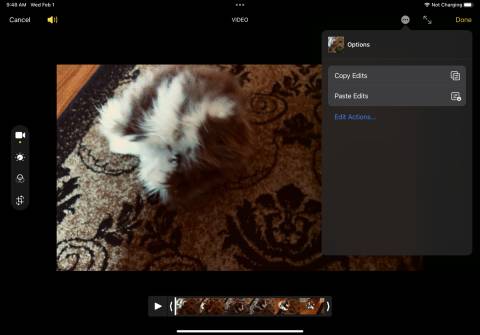
To apply the attribute and filter changes from one video to another, tap the three-dot icon for the first video and select Copy Edits. Open the second video, tap the three-dot icon, and select Paste Edits.
There are limitations to the video-editing skills of the Photos app. For instance, you can’t combine multiple clips into a single video. For that, you’d want to turn to a more powerful mobile editor, such as Apple’s free iMovie app.